
Building your backyard ice rink takes three main moves. First, pick a flat, shaded spot near water—this matters because slopes create thin ice patches. Second, build your frame from PVC or wood, level it carefully, and secure it with cinder blocks. Third, lay down a liner and flood it gradually with quarter-inch layers, letting each freeze solid before adding more. Smooth any rough patches with a squeegee, and you’re skating. Stick with this routine, and you’ll discover the specifics that’ll keep your ice perfect all season.
Step 1: Choose Your Rink Type and Pick Your Spot

Before you dig out your shovel or order supplies, you’ll want to decide which rink type works best for your situation. The Old Fashion Backyard method uses boards to contain everything—pucks, spills, and snow. The liner method saves setup time by skipping boards entirely. The Refrigerated Method uses cooling systems for year-round skating.
Next, scout your backyard for the perfect spot. You’ll need a flat area without slopes, as uneven ground creates thin ice patches. A shaded spot stays colder longer, which helps during warmer days. Locate a nearby water source for flooding—you’ll need consistent access for layering ice gradually over several days.
Plan your timeline around cold weather. Aim for board installation around early November, ensuring everything’s ready before the ground freezes solid.
Step 2: Assemble Your Frame and Level the Ground

Once you’ve picked your spot and planned your timeline, it’s time to get your hands dirty—literally. Start by clearing and leveling your ground—this is crucial for success. I recommend building your backyard rink frame from either PVC or wood, whichever feels comfortable for you. Use top pipe clips carefully to avoid tearing your liner later on. When assembling, place cinder blocks or bricks around the perimeter to secure everything firmly. Check those diagonals obsessively; equal measurements mean you’ve got a true rectangle. If your ground slopes slightly, under-pipe shims are your secret weapon for evening things out. Frame securing might seem tedious, but this groundwork prevents headaches when you’re filling with water. Trust me—a level foundation makes everything else easier and your rink skates beautifully.
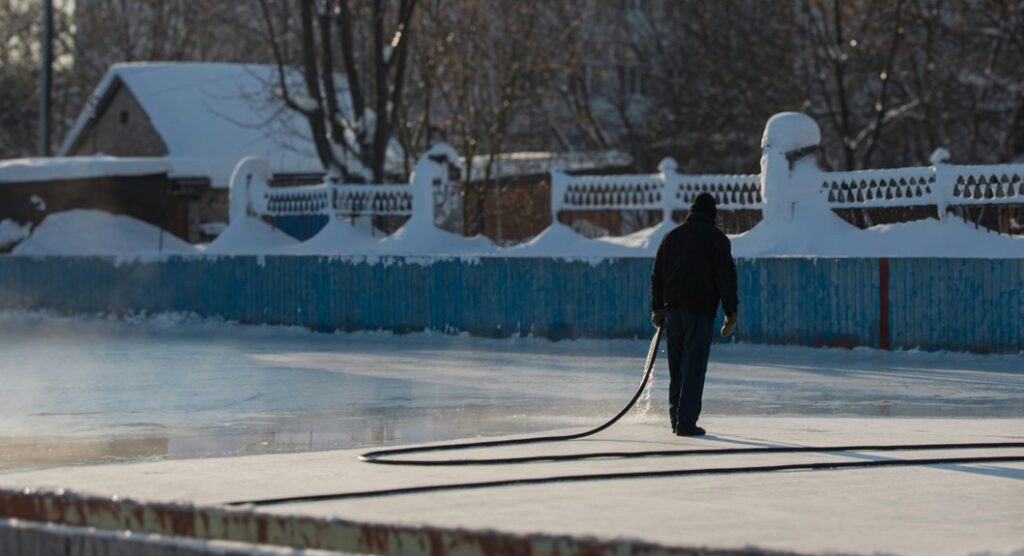
Step 3: Fill Your Rink and Establish a Maintenance Routine

How do you turn your framed rectangle into a skating surface? Start by laying your liner over the PVC frame, extending it about 4 feet beyond the edges to contain everything. Now comes the fun part: flooding. Use your hose to spray 1/4 inch water layers, then wait for each to freeze solid before adding the next. Check that freezing temperatures are happening overnight—this is crucial for ice thickness.
Once you’ve got your backyard ice rink established, maintenance keeps it skateable. Perform layered flooding regularly to build up quality ice. When the surface gets chunky, use a squeegee or scraper for smoothing ice. A light hot water spray creates a uniform finish. Re-clip those top pipe edges occasionally to prevent tearing. You’ve got this.